How to De-Winterize Your RV

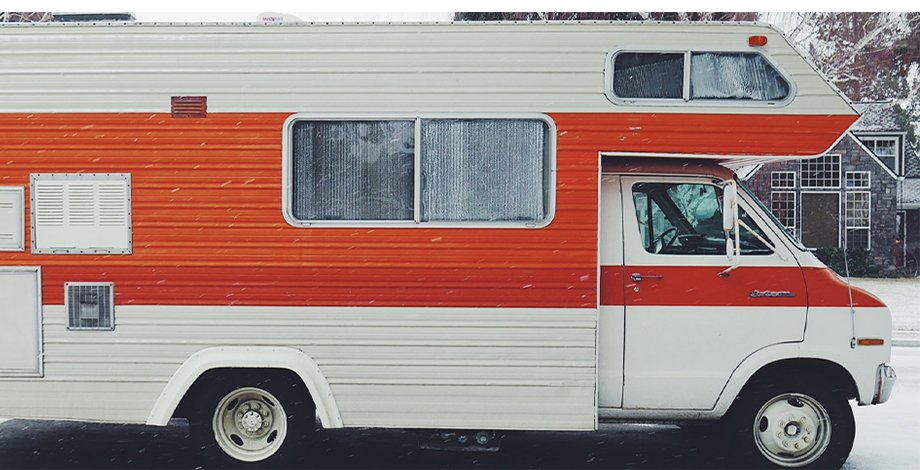
Winter has passed and the camping season has finally arrived. This means that you’re ready to take your gorgeous RV out on the open road again and to any beautiful destination your heart desires. But wait, before the winter, you made sure to properly winterize your RV, meaning now you must de-winterize it if you want to enjoy all its luxuries.
This article will focus on explaining the entire de-winterization process from scratch, focusing on everything from draining the entire system of antifreeze, and making sure everything else is ready for the camping season. So, without further ado, let’s see how to de-winterize RVs.

Contents
Flush Out the Antifreeze
If you winterized your RV properly, this means that its water lines are now full of food-safe antifreeze that you have to drain. This should be done in a certain order, and that’s exactly what we’re going to discuss now.
1. Fill the Freshwater Tank With Water
First of all, you need to fill up the RV with water so that you can use it to flush out the antifreeze already present inside. You don’t need to fill the entire tank, as one-third will be sufficient enough. So, place the hose in the freshwater tank opening and start filling it up. This could take a while, but there are ways to fill up an RV water tank faster. While the tank is filling, you can move on to the next step of the process, just don’t forget to stop filling it with more water after this.
2. Drain the Low-Point Drains
Moving on, locate the low-point drains underneath the trailer. There should be two valves there, one for hot and one for cold water. Open both of them and antifreeze should start coming out. Usually, the type of RV antifreeze used for this process will be pink, so wait for the pink liquid to stop pouring.
You will also need to turn the water pump on, as all of the antifreeze won’t come out by itself from the low-point drains. Once you turn on the water pump, you can see the remains of the antifreeze exit until all that’s left coming out of them will be water, from the tank you filled up earlier.
3. Fill the City Water Tank With Water
After you’re finished with the low-point drains, you will want to fill the city water tank with water so that you can start flushing out all of the pipelines that are connected to it. This will enable you to flush the antifreeze out from the RV’s showers, toilet, and faucets.
4. Flush Out the City Water Connections
This step will require you to start flushing out all of the antifreeze within your RV. This means focusing on every single faucet in the trailer, both the indoor shower and the outdoor one, if you have it, the toilet, and any other openings you may have.
If you remember from when you winterized your RV, you were waiting to see pink liquid poor from the faucets until you closed them. However, during de-winterization, you need to wait for the pink liquid, or antifreeze, to exit the system completely and only close each faucet when fresh and clear water starts coming out.
After doing this to all the faucets, both hot and cold, the showers, and the toilet, you will no longer have antifreeze in the water lines. However, the RV de-winterization is not done here, as there are a few more steps we need to cover before the entire process is complete and you’re once again able to hit the open road.
Don’t Forget the Water Heater
Even though you’re done flushing out all of the antifreeze from the RV’s pipes, you still can’t forget the water heater. If you did a proper winterization of your RV previously, you will have bypassed the water heater, preventing it from filling up with antifreeze unnecessarily. Now, you have to set it up the way it was before you winterized your trailer. It’s quite simple, here’s what you need to do.
Basically, you have to open the bypass valve again to allow water to flow into the water heater. But, before you do that, you must make sure to wrap the water heater plug in Teflon tape and place it back into the heater’s opening. If you don’t do this step, water will start splashing out of the heater once you open the bypass.
After this, hop inside the RV and locate the water heater from inside. Find the same valve you turned to bypass the water heater and open it. You should hear water filling up in the heater instantly.
Do a Full Inspection
Even though flushing out the water system from the antifreeze is a crucial and one of the most significant steps in the de-winterization process, you’re still not finished. However, the previous steps were the most time consuming, the following should be quicker and easier, considering you don’t run into any problems.
Doing a full inspection means double-checking everything that could have been compromised during the cold winter season. This includes checking:
- The roof for leaks
- Tires
- Propane appliances and tanks
- Batteries
- Electrical appliances
- Engine
These are some of the main things you need to check if they’re still working before you go enjoy the camping season in your RV. However, you aren’t limited to only them, as you need to consider any other crucial features you may have that could have been affected during the winter.
Stack Up on Supplies

Lastly, you need to make sure much-needed supplies are by your side and that you’re ready for any type of situation you might expect. What do we mean when we say supplies? This includes the following items:
- Water filters
- Black tank chemicals
- Toilet paper
- Cooking supplies
- Cleaning Supplies
These are just some of the basic items that no RV should be left without. Considering you did all of the steps above properly and accordingly, you have now successfully de-winterized your RV. Good luck on the open road and enjoy your next camping site!