How to Recondition a Car Battery

As a car owner, it’s important to take care of your vehicle as you would yourself. Doing so will ensure a longer lifetime and less stress for you. The car battery is one of the most overlooked parts that we tend to leave for granted until our car is unable to start. When that happens, you’re forced to go and buy another car battery and hope it doesn’t burn out sooner than the last one without even knowing how long car batteries last.
But, what if you could bring the car battery to life again and see it working almost to full strength once more? Now, you can’t do this an infinite amount of times, but it’s quite an easy process that will serve you at least a couple of times and save a surprising amount of cash. In this article, we will focus on explaining how to recondition a car battery. To avoid any confusion, we will be talking about the common 12V lead-acid batteries.
Contents
What Makes Car Batteries Go Bad?
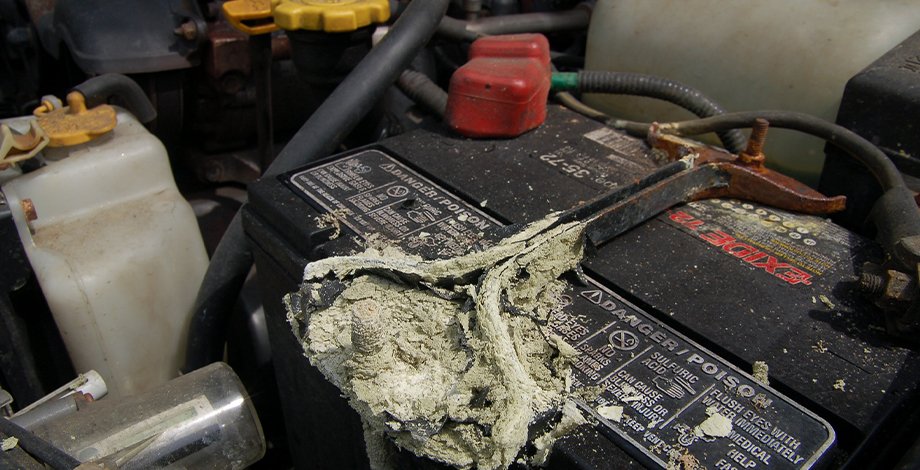
Lead-acid batteries contain a variety of chemicals that allow them to function. The reason we try to recondition them in the first place and why they go bad has to do with how many times they are put to use. To put it simply, when the battery experiences a discharge to start the car, a process called sulfation takes place.
As a result of this process, sulfur crystals get piled up on the battery’s plates. The more we use the battery the more crystals build up. The more crystals get built up the worse the battery’s performance, the longer it takes to charge, and the less efficient it becomes. Because of this, there is a way to reverse this process and restore the battery’s efficiency by a significant amount. However, we can only do this a few times until it completely dies out.
Car Battery Reconditioning Safety

Before even discussing the process of how to recondition a car battery that won’t hold charge, we need to talk about safety, as there is some risk involved in this process. However, you shouldn’t worry as long as you take the simple and necessary precaution measures.
This includes wearing protective eye-wear, as certain chemical leaks can harm your eyes if they occur, which isn’t always the case. Also, you must make sure you are in a well-ventilated area or outside. Make sure a fan is always running and windows are open if you are inside. Lastly, it’s a great recommendation to wear long sleeves to avoid any spills on your skin. As I said, these things don’t always occur but it’s definitely better to avoid rather than to cure later if something should happen.
How to Recondition a Car Battery – Step by Step
Now that we’ve covered a few initial topics regarding this, let’s finally have a look and find out how you would go about this process, what you will need, and the step-by-step instructions to follow.
Ingredients
In order to do this process successfully, there are only a couple of ingredients that you are going to need. This shouldn’t cost you more than around $20 max. With the ingredients you’re going to get for that amount of money, you will be able to treat around 4 car batteries. That’s significantly more affordable than buying a new one. Here’s what you’ll need:
- 1 Pound of Epsom Salt
- 1 Gallon of Distilled Water
- 1 Pound of Baking Soda
Reconditioning a Car Battery
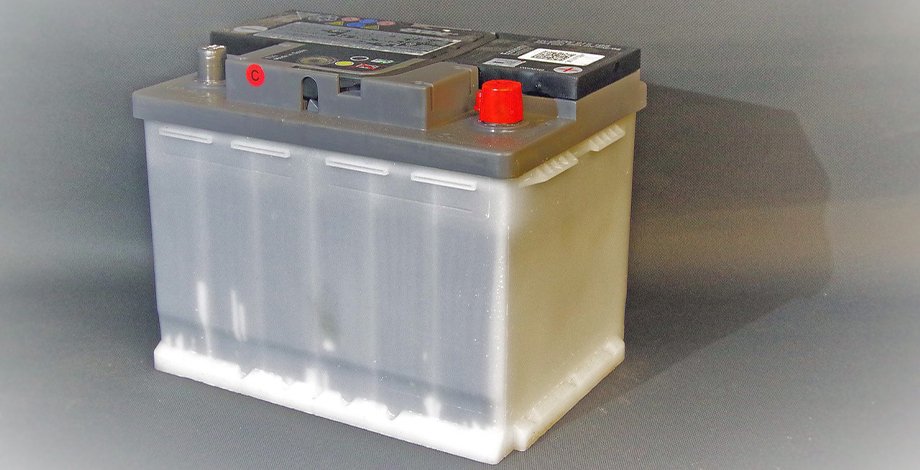
Before you start doing anything, you must take out the battery and place it on your workspace. One crucial thing to keep in mind is to measure the battery’s voltage with a voltmeter. A healthy battery usually reads around 12.6V. The less voltage your voltmeter reads the harder it will be to do a successful reconditioning, so keep that in mind in case it reads 1 or 2 volts as chances are that it’s not going to be worth it.
Step 1: Make the Mixture
The solution we’re about to mix now will do the most important job – clean the battery from all the sulfur crystals and restore its efficiency. Here is what you need to do. Find a large pot and put it on the stove. Pour in 1 gallon of distilled water. In case you’re trying to improvise, know that any other kind of water will not work due to the chemicals inside.
When the distilled water comes to a boil, pour in one pound of Epsom salt and let it boil. After everything is dissolved nicely, turn off the stove and let it sit until you’re done with the other steps.
Step 2: Clean the Battery
You won’t get anything done until you clean the car battery and make sure its connector pins and all the rest is clean and ready for reconditioning. If it’s corroded, use a dedicated battery cleaner and do this process initially.
Step 3: Empty the Battery Cells
Next, you have to open the cell caps with a flathead screwdriver and empty the cells. This is where a bucket will come in handy, as you don’t want to just pour that acid anywhere. This is also where the baking soda will be used, as it will neutralize the battery acid and make it less harmful. Dispose of the acid at the recommended facilities nearby.
Step 4: Clean the Cells
Don’t confuse this with cleaning the entire battery from corrosion. In order to clean the cells, you’re going to get your distilled water and baking soda and make a mixture. A rough estimate would be to mix ½ gallons of distilled water and 1/2lbs of baking soda. Mix in well until it’s fairly clear and pour inside the cells with a funnel or a battery cell filler. Close the cell caps and shake for at least a minute to evenly distribute the cleaning solution. After that, pour out the mixture into the same bucket with the old acid and dispose of it.
Step 5: Pour in the Reconditioning Solution
Now is the part where the magic happens. Take the mixture with the distilled water and the Epsom salt and pour it into each of the battery’s cells. Once you’re finished, close the caps and shake slowly so that the mixture is evenly spread across the cells.
Step 6: Charge the Battery
It’s a good idea to leave the car battery for a few hours to settle after you’re done reconditioning it. Now, chances are that you’re doing this for the first time, so it’s better to play it safe. Remove the caps once again and connect the battery to a spread of 12V/2 Amps and let it charge for a bit over a day. If nothing overflows and no other issues occur then you’re good to go for testing.
Step 7: Test the Battery
The last step is to stop charging it once it’s done and test it with a voltmeter, don’t just plug it into the car yet. A normal reading, in this case, would be around 12V. If your readings are lower, connect the charger again and charge for another half a day. Finally, connect the battery to your car and see if it’s working. After testing once the car has started, if the readings are around 9 to 10 volts, then you are ready to drive around with your reconditioned car battery.